
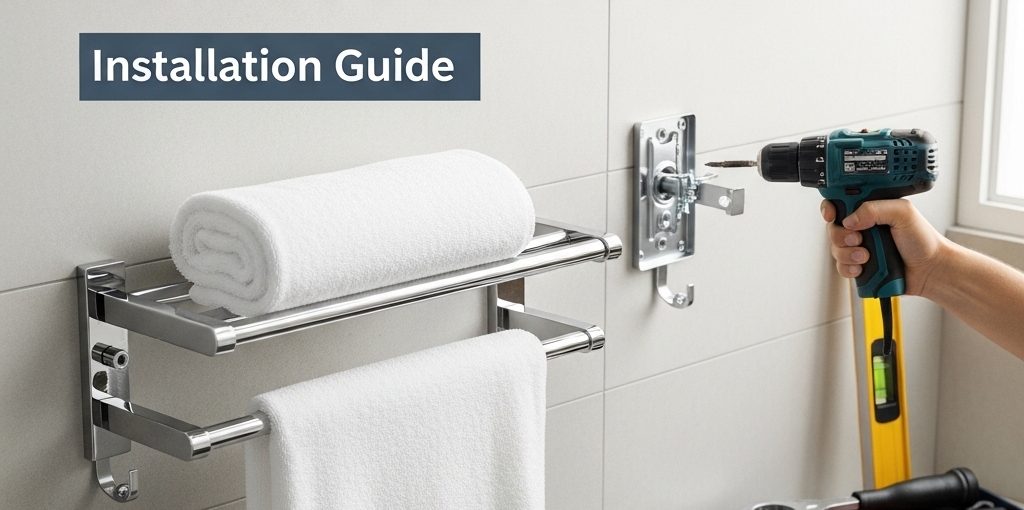
Table of Contents
Why Proper Installation Matters
Towel racks are often underestimated as simple bathroom accessories. In reality, they function as load-bearing hardware fixtures that must withstand repeated daily use, moisture exposure, and long-term stress.
Improper installation can lead to:
- Loosening or detachment from the wall
- Structural damage to drywall or tiles
- Safety hazards in residential settings
- Negative guest experiences in hotels and commercial environments
For contractors, developers, and bulk buyers, installation is not just a technical step—it directly impacts project quality, maintenance cost, and brand perception.
This guide goes beyond DIY basics. It integrates engineering-grade installation logic, material science, and commercial project standards to help you choose the right mounting method.
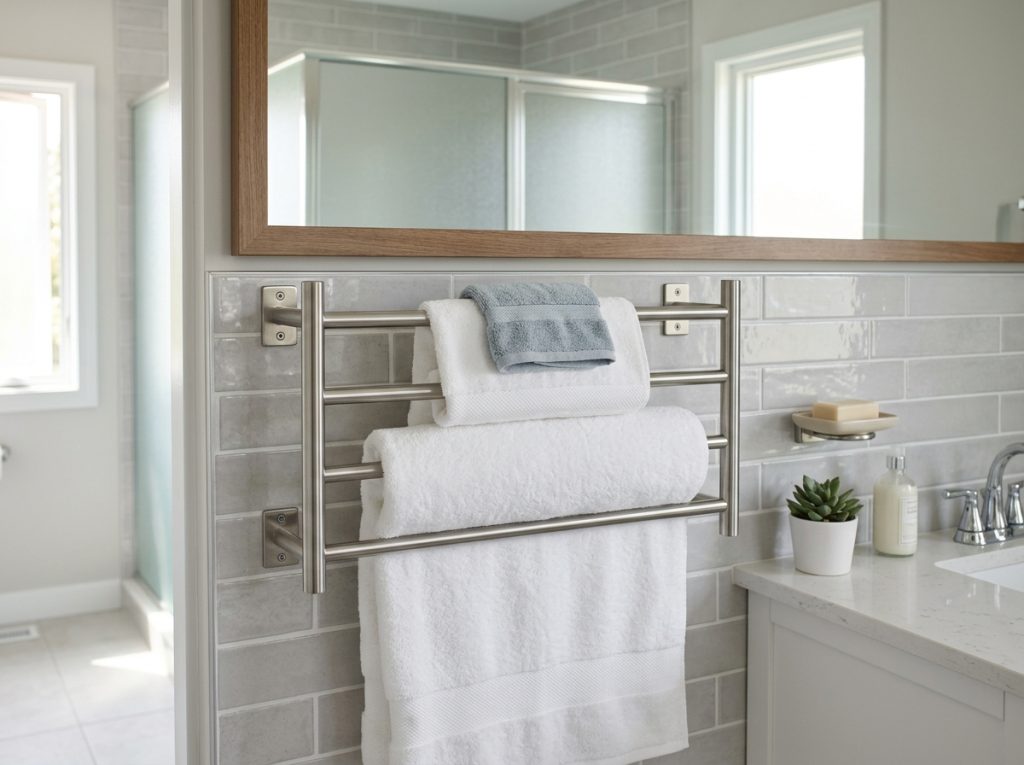
Main Methods to Attach Towel Racks to Wall
1. Screw Mounting (Most Secure Method)
Screw mounting is the industry-standard method used in residential, hospitality, and large-scale construction projects.
Structure:
- Mounting bracket
- Screws
- Wall anchors (if no studs)
Advantages:
- High load-bearing capacity
- Long-term structural stability
- Suitable for humid environments
Disadvantages:
- Requires drilling
- Needs proper tools and alignment
Best for:
- Hotels, apartments, commercial bathrooms
- High-frequency usage scenarios
Professional Insight:In commercial projects, screw-mounted systems combined with SS304 stainless steel or lead-free brass ensure long-term durability and compliance with building standards.
2. Adhesive Mounting (No-Drill Solution)
Adhesive mounting uses high-strength glue or 3M adhesive strips to attach towel racks directly to the wall surface.
Advantages:
- No drilling required
- Fast installation
- Ideal for temporary setups
Limitations:
- Lower load capacity
- Performance drops in humid environments
- Risk of detachment over time
Best for:
- Rental properties
- Light-duty residential use
Material Impact:Even with PVD Coating, adhesive installations are still vulnerable to moisture penetration, especially in bathrooms with poor ventilation.
3. Vacuum / Suction Cup Mounting
This method relies on vacuum pressure to adhere to smooth surfaces like glass or tiles.
Advantages:
- No tools required
- Easy repositioning
Disadvantages:
- Very limited load capacity
- High failure rate over time
Not recommended for:
- Hotels or commercial projects
- Long-term installations
Wall Types & Installation Strategy
Drywall Installation
Drywall is one of the most common wall types but requires proper reinforcement.
Key Requirements:
- Use wall anchors (plastic or metal)
- Avoid direct screw insertion without anchors
Common Mistake:
Installing screws directly into drywall without anchors leads to loosening within weeks.
Tile Wall Installation
Tile surfaces are durable but fragile during drilling.
Best Practices:
- Use a diamond or carbide drill bit
- Drill slowly to prevent cracking
- Apply masking tape to stabilize the drill point
Concrete Wall Installation
Concrete walls require heavy-duty anchoring systems.
Recommended Hardware:
- Expansion bolts
- Hammer drill
Advantages:
- Extremely strong load capacity
- Ideal for luxury hotel bathrooms
Tools & Hardware Required
A professional installation requires precision tools:
- Electric drill
- Screwdriver
- Level ruler
- Measuring tape
- Wall anchors
- Expansion bolts (for concrete)
B2B Insight:High-quality installation tools must be paired with precision-engineered hardware systems. Low-quality brackets or screws can compromise even the best installation.
Step-by-Step Installation Guide
Step 1: Mark the Position
- Use a level ruler to ensure horizontal alignment
- Standard height: 48–52 inches from the floor
Mistake to avoid: eyeballing alignment instead of measuring
Step 2: Drill Holes
- Select drill bit based on wall type
- Drill at marked positions carefully
Mistake: applying too much pressure on tile walls
Step 3: Insert Anchors
- Insert wall anchors firmly into holes
- Ensure flush alignment with wall surface
Mistake: using incorrect anchor size
Step 4: Fix Bracket
- Align bracket with drilled holes
- Tighten screws securely
Mistake: over-tightening, which damages anchors
Step 5: Install Towel Rack
- Attach the rack to the bracket
- Check stability and alignment
Pro Tip:For commercial installations, always perform a load test after installation.
Common Installation Mistakes to Avoid
- Ignoring wall type differences
- Skipping wall anchors
- Using low-grade hardware
- Poor alignment leading to uneven load distribution
- Not considering humidity impact
Material Risk Factor:Inferior materials without NSS 48H salt spray resistance will corrode quickly in bathroom environments.
Material & Durability Considerations
Material selection is critical for long-term performance.
Stainless Steel vs Brass
- SS304 Stainless Steel: corrosion-resistant, cost-effective
- Lead-free Brass: premium durability, higher weight capacity
Surface Treatment
- PVD Coating: enhances corrosion resistance and finish longevity
- Maintains appearance in high-humidity environments
Industry Benchmark
According to Grand View Research, the global bathroom accessories market is expected to grow steadily due to increasing demand for durable and aesthetic solutions in hospitality and residential sectors.
This highlights the importance of quality materials + proper installation in long-term ROI.
Installation Methods Comparison
| Method | Load Capacity | Durability | Installation Difficulty | Best Use Case |
|---|---|---|---|---|
| Screw Mounting | High | Very High | Medium | Hotels, apartments |
| Adhesive Mounting | Medium | Low | Easy | Rental homes |
| Suction Mounting | Low | Very Low | Very Easy | Temporary setups |
Commercial Projects: Bulk Installation Considerations
For large-scale projects such as hotels, resorts, or residential developments, installation strategy must be standardized.
Key Challenges:
- Ensuring consistent installation across hundreds of rooms
- Reducing labor cost and installation time
- Maintaining long-term durability
Professional Solutions:
- Pre-engineered mounting systems
- OEM/ODM customized hole spacing
- Unified hardware kits for installers
Integrating towel racks with a full bathroom solution improves efficiency. For example:
Strategic Insight:
A unified supplier ensures design consistency + installation compatibility + supply chain stability.
Choosing the Right Installation Method
The best installation method depends on your application:
- Residential DIY: adhesive or screw mounting
- Professional projects: always screw mounting
- High-end commercial use: reinforced anchors + premium materials
Ultimately, installation quality + material selection = long-term performance.
FAQ on how to install a towel rack
Business Cooperation is Welcome
If you’re managing a hotel project, apartment development, or large-scale procurement, installation reliability starts with the right supplier.
At SourceZJ, we provide:
- Full bathroom hardware solutions
- Engineering-grade mounting systems
- OEM/ODM flexibility
- Consistent quality across bulk orders
Fast Delivery Advantage:
- In-stock items: 1–2 days delivery
- Custom orders: 25–30 days production
Request a quote now,Or connect via WhatsApp for faster response,Build installations that last—not just months, but years.
 English
 العربية
 Русский
 Español