
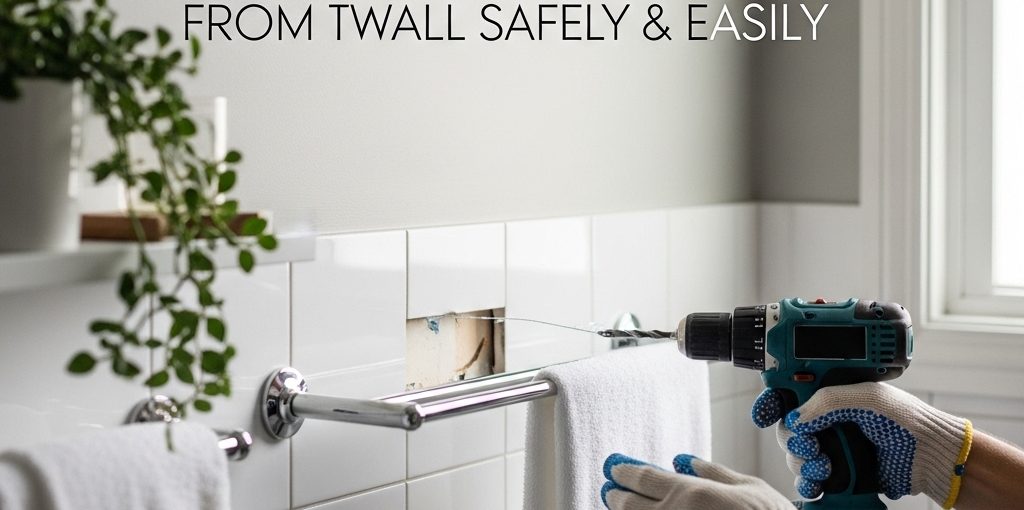
Table of Contents
I. How to remove a towel rack without damaging it
Removing an old, rusted, or outdated towel rack seems like a simple, five-minute task. Yet, it is the number one cause of unnecessary bathroom renovations. Why? Because homeowners often approach the task with brute force rather than mechanical logic. A slight miscalculation can result in torn drywall, cracked porcelain tiles, or stripped screws that trap the fixture against the wall permanently.
The core value of this guide is to shift your approach from “blind pulling” to “strategic dismantling.” Whether you are an interior designer managing a rapid cosmetic flip or a homeowner executing a weekend DIY project, you must first understand the structural engineering behind the installation.
Before you pick up a screwdriver or a crowbar (which you should never use), let’s perform a rapid self-assessment to identify your removal difficulty level.
What are you dealing with?
- Look underneath the base: See a tiny, hidden hole? You have a Type A (Set-Screw) installation. (Difficulty: Medium)
- Look at the face of the base: See visible crosshead or flathead screws? You have a Type B (Exposed Screw) installation. (Difficulty: Easy)
- Look closely at the wall joint: No screws anywhere, just a tight seal against the wall? You have a Type C (Adhesive) installation. (Difficulty: High/Patient)
Pro Tip: Upgrading your bathroom after removal? Don’t replace cheap hardware with more cheap hardware. Explore the manufacturing-grade Towel Racks from SourceZJ to ensure your next fixture lasts a lifetime without rusting.
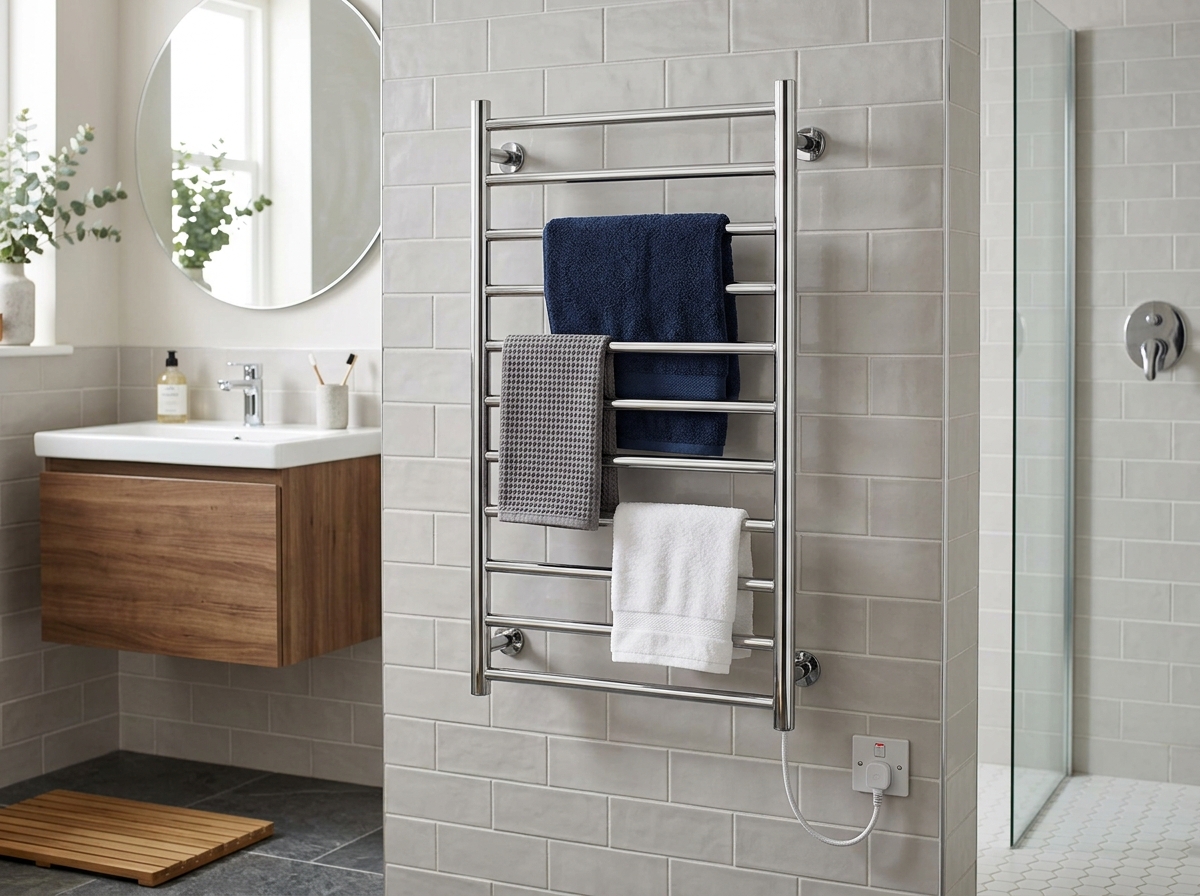
II. The Diagnosis Phase: Identify Your Installation Type
The cardinal rule of bathroom demolition is: Identify the fastening mechanism before applying force. Applying force to a locked mechanism will rip chunks of drywall out, turning a quick removal into a messy patching job.
- Type A: Hidden / Set-Screw Configuration: This is the most common modern installation. A metal mounting plate is screwed to the wall, and the decorative outer base of the towel rack slides over it. It is locked in place by a tiny set-screw located on the underside of the base, pointing toward the floor.
- Type B: Exposed Screw Configuration: Typically found on older or utilitarian fixtures. The screws holding the rack to the wall are plainly visible on the front of the mounting bases.
- Type C: Adhesive / No-Drill Configuration: Popular in rental apartments and on expensive tile walls. The fixture relies entirely on high-strength industrial polymers or double-sided mounting tape.
- Type D: Tile / Masonry Installation: This is an environmental factor rather than a specific bracket type. If your rack (Type A or B) is mounted on tile, extreme caution is required to prevent explosive cracking of the ceramic glaze during screw removal.
III. Step-by-Step Removal Guide
Once you have diagnosed your installation type, follow the corresponding procedure below.
1. Removing a Hidden Set-Screw Towel Rack
- Critical Tool: Allen Wrench (Hex Key) or a tiny Flathead Screwdriver.
The Procedure:
- Locate the Set-Screw: Look directly underneath the decorative base covering the wall. You will see a small hole containing a tiny set-screw.
- Loosen (Do Not Remove): Insert the correct size Allen Wrench. Turn counter-clockwise to loosen the screw. Expert Warning: Do not unscrew it completely, or it will fall down the drain or get lost on the floor. You only need to loosen it enough to release the internal grip.
- Lift and Pull: Once the set-screw is loose, grip the base of the towel rack and lift it slightly upward, then pull it straight outward away from the wall. The outer decorative shell should slide off easily.
- Remove the Mounting Plate: You will now see the internal metal mounting plate secured to the wall with standard Phillips or flathead screws. Use a screwdriver to remove these screws and detach the plate.
Expert Warning: Set-screws are notorious for stripping. Ensure your Allen wrench is fully seated and perfectly matches the size (metric or imperial) before applying torque.
2. Removing an Exposed Screw Towel Rack
- Critical Tool: Power drill or manual screwdriver.
The Procedure:
- Locate the visible screws on the front of both mounting bases.
- Using the appropriate screwdriver, turn the screws counter-clockwise to remove them. If using a power drill, use a low torque setting to avoid stripping the screw head if it is rusted.
- Carefully pull the towel bar and its bases away from the wall.
- Remove the plastic drywall anchors left behind in the wall (use needle-nose pliers to gently pull them out, or lightly tap them flush into the drywall if they resist).
3. Safely Removing Adhesive / Glue-Mounted Racks
This is where brute force causes the most damage. Adhesives are designed to withstand 30+ lbs of shear force; pulling straight out will rip your wall apart.
- Critical Tools: Hairdryer (or heat gun), Dental Floss (or fishing line), Isopropyl Alcohol or Goo Gone.
The Procedure:
- The Softening Phase: Set a hairdryer to the highest heat setting. Aim it directly at the metal base of the towel rack for 3 to 5 minutes. The goal is to transfer heat through the metal to soften the underlying polymer glue.
- The Cutting Phase: Cut a long piece of dental floss or strong fishing line. Wrap the ends around your fingers. Slide the middle of the floss behind the base of the towel rack, flush against the wall.
- The Sawing Motion: Pull the floss back and forth in a sawing motion, working your way down behind the base to slice through the softened adhesive layer.
- Residue Cleanup: Once the fixture is detached, you will be left with a sticky residue on the wall. Apply Isopropyl Alcohol or Goo Gone. Let it sit for 5 minutes, then gently rub it away with a microfiber cloth. Expert Warning: Never use a metal razor blade to scrape adhesive off drywall or painted surfaces.
IV. Troubleshooting: Handling “Oops” Moments
Even with perfect technique, age and moisture can complicate the removal process.
- The Stripped Set-Screw: If the tiny set-screw underneath the base is stripped (the Allen wrench just spins), place a thin rubber band over the tip of your wrench and insert it into the hole; the rubber provides extra friction. If the fixture is destined for the trash, you can use vise-grip pliers to forcefully twist and pull the entire base off the mounting plate, though this risks wall damage.
- Rusted and Seized Screws: Bathrooms are humid. If a screw refuses to turn, stop immediately to avoid stripping it. Spray a tiny amount of WD-40 or a penetrating rust-release oil directly onto the screw head. Let it sit for 15 minutes to break down the oxidation before attempting to turn it again.
- Protecting Drywall from Tearing: Before pulling a mounting plate off painted drywall, take a sharp utility knife and gently score (cut) a circle in the paint precisely around the edge of the metal plate. Sometimes, the paint bonds the plate to the wall; scoring breaks this seal, preventing a massive strip of paint from peeling off with the fixture.
V. The “Clean Slate” Guide: Wall Repair
Most DIY guides stop after the fixture hits the floor. A true professional prepares the wall for the next installation.
- Fixing Drywall Holes (Spackling): For the small holes left by screws or drywall anchors, apply a small amount of spackling paste (joint compound) using a putty knife. Press it firmly into the hole, scrape the surface flush, and let it dry. Lightly sand it with fine-grit sandpaper until smooth, then touch up with matching paint.
- Fixing Holes in Tile: You cannot “spackle” tile. If you are not installing a new fixture over the exact same holes, fill the holes with a clear or color-matched bathroom-grade silicone caulk to prevent moisture from entering the wall cavity. Alternatively, you can purchase decorative plastic hole-caps that match the tile color.
Transform Your Clean Slate: If your old towel rack rusted because it was cheap aluminum, upgrade your bathroom’s defense. Explore SourceZJ Stainless Steel hardware products to ensure your new installation remains pristine for decades.
VI. FAQ on how to remove a towel rack
VII. Business Cooperation is Welcome
Removing a towel rack from the wall is an exercise in diagnosis and precision. By taking two minutes to identify whether you are dealing with a hidden set-screw, an exposed fastener, or an industrial adhesive, you dictate the success of the entire project.
Remember, the goal is not just to detach the old fixture, but to preserve the integrity of your drywall or expensive tile, creating a flawless “clean slate” for your next design upgrade. If you apply the strategic steps and troubleshooting techniques outlined in this guide, you will avoid the catastrophic wall damage that plagues amateur DIY attempts.
Ready to upgrade the hardware you just removed?
For Trade Professionals: Request a Custom OEM/ODM Sourcing Quotation Today
Need Hardware Consultation? Connect directly with our engineering directors via WhatsApp or send your inquiries to sales1@zhenjiahardware.com to ensure your next installation is permanent, rust-free, and architecturally stunning.
 English
 العربية
 Русский
 Español