
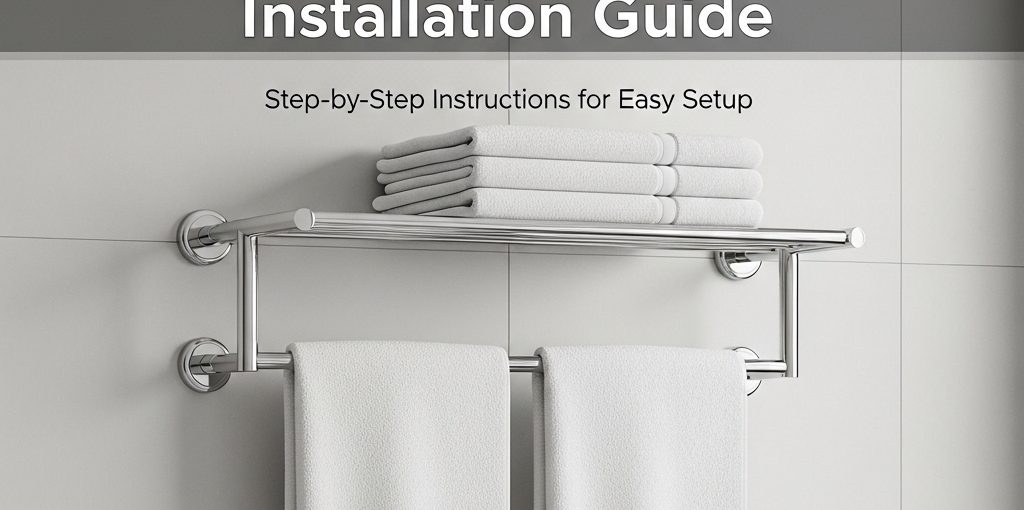
Table of Contents
I. Elevating Bathroom Infrastructure
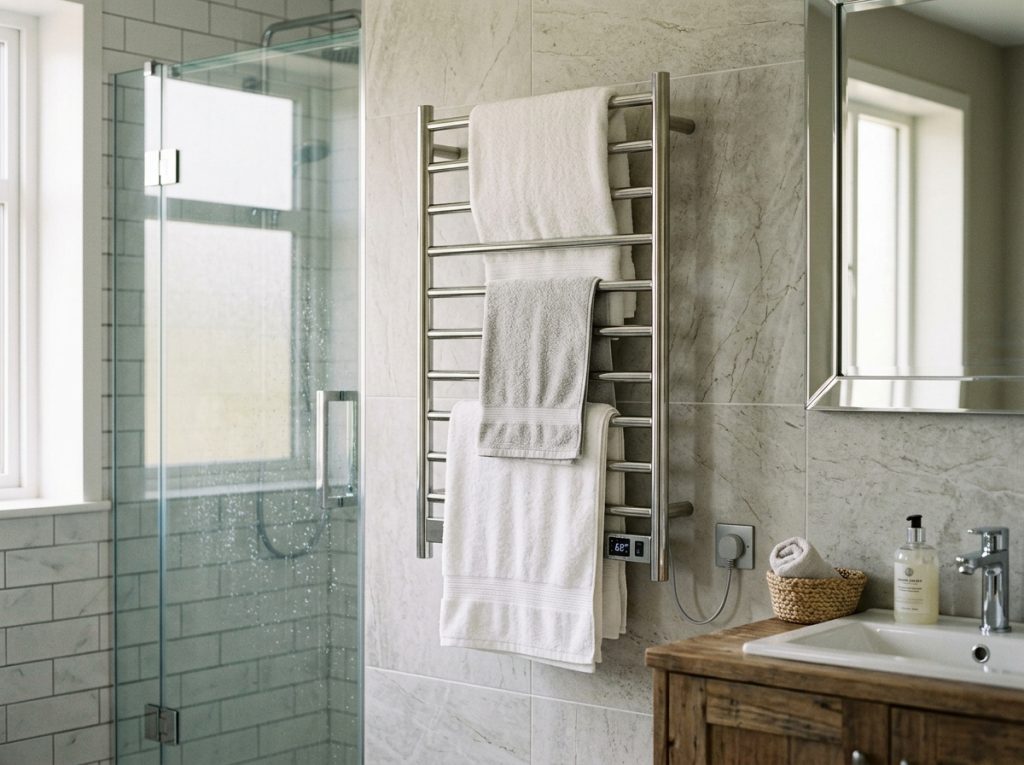
Installing a heated towel rack is often misunderstood as a simple cosmetic update. In reality, it is a critical system engineering upgrade. A properly installed wall-mounted heated towel rack does far more than warm your bath linens; it fundamentally transforms the micro-climate of your bathroom, accelerating moisture evaporation and establishing a robust hygiene barrier against mold and bacterial proliferation.
However, the intersection of electricity, heavy physical fixtures, and high-humidity environments presents significant risks. The core of any successful installation is Electrical Safety. Bypassing safety protocols, such as ignoring GFCI (Ground Fault Circuit Interrupter) or RCD requirements, can lead to catastrophic electrical hazards.
The Crucial Decision Point: Before you pick up a drill, you must determine your installation pathway.
- If you are utilizing a Plug-in (Surface Mounted) model, this guide will serve as your ultimate DIY handbook.
- If you are specifying a Hardwired (Concealed Wiring) model for a seamless, luxury finish, this document will serve as a project management blueprint to ensure your licensed electrician executes the installation to exact commercial standards.
Commercial Sourcing Notice: Are you a contractor or facility manager outfitting a multi-unit project? Do not rely on retail-grade hardware. Contact the engineering team at SourceZJ today for a custom OEM/ODM wholesale quotation.
II. Pre-Installation Checklist: Tools and Site Assessment
Professional results require professional preparation. Attempting this installation without the correct diagnostic tools guarantees a crooked, unstable, or unsafe fixture.
The Essential Tool Checklist
| Tool Required | Primary Function in Installation |
|---|---|
| Voltage Tester (Multimeter) | Absolute necessity for hardwired installations. Confirms the circuit is completely de-energized before handling wires. |
| Spirit Level (Torpedo Level) | Ensures horizontal and vertical alignment. A crooked rack creates uneven thermal distribution and visual aesthetic failure. |
| Impact Drill & Diamond/Masonry Bits | Essential for cleanly penetrating porcelain tile, marble, or concrete without cracking the substrate. |
| Electronic Stud Finder | Locates wooden/steel wall studs for secure anchoring and detects live AC wires or copper plumbing hidden behind the drywall. |
| Mold-Resistant Structural Silicone | Used during the final step to seal drill holes and mounting brackets, preventing steam from rotting the internal wall cavity. |
Site Assessment: Load-Bearing and Code Compliance
- Wall Substrate Evaluation: Is your wall standard 5/8″ drywall, masonry, or tile over cement board? Standard plastic drywall anchors are insufficient for the torque generated by pulling wet towels. You must locate structural studs or utilize heavy-duty toggle bolts.
- Proximity to Water Sources: Consult your local electrical code (such as the National Electrical Code – NEC in the US). Generally, electrically powered fixtures must be installed a minimum safe distance from the footprint of a bathtub or open shower enclosure (often referred to as Zone 2 or outside of Zone 1).
III. The Core Decision: Plug-in vs. Hardwired
This is the most frequent point of confusion for buyers. Selecting the wrong configuration will derail your renovation timeline.
1. The Plug-in Solution (Surface Mounted)
- Ideal Scenario: Existing bathroom upgrades, rental properties, or projects with zero budget for drywall removal and electrical rewiring.
- Installation Logic: Mount the brackets→Hang the rack→Plug the cord into a standard GFCI outlet→Manage the exposed cable with clips.
- The Trade-off: Maximum convenience, but the visible power cord compromises the sleek, minimalist aesthetic.
2. The Hardwired Solution (Concealed Wiring)
- Ideal Scenario: New constructions, complete “down-to-the-studs” renovations, and high-end luxury custom homes.
- Installation Logic: Pre-wire a junction box behind the wall→Splice the fixture’s wiring directly to the household circuit→Seal the electrical panel→Mount the rack over the box to completely hide the connection.
- The Trade-off: Achieves a flawless, high-end architectural finish, but strictly requires a licensed electrician and invasive drywall/tile work.
IV. Standardized Step-by-Step Installation Guide
Whether you are executing a DIY plug-in or managing a professional hardwired install, the physical mounting process follows a strict mechanical logic to reduce cognitive load and prevent errors.
Step 1: Positioning and Ergonomic Planning
- The Golden Height: We recommend positioning the topmost bar between 1.2 meters to 1.5 meters (47 to 59 inches) from the finished floor. This ensures the rack is ergonomically accessible without bending, while keeping the lowest heating elements out of reach of small children.
- Clearance: Leave at least 6 inches of clearance on all sides (and above) to allow for proper air circulation and heat dissipation.
Step 2: Bracket Drilling and Leveling
- Using the manufacturer’s paper template, tape the layout to the wall.
- Apply your spirit level to the template lines. Do not trust your ceiling or floor to be perfectly level.
- If drilling through tile, place a strip of masking tape over the mark before drilling; this prevents the diamond bit from “walking” or scratching the glazed surface.
Step 3: Wall Reinforcement & Anchoring
- If you cannot hit a wooden stud, discard the cheap plastic anchors included in the box.
- Upgrade to heavy-duty metal toggle bolts (snaptoggles). A wet bath sheet exerts significant downward torque. Over time, inadequate anchors will rip out of the drywall, destroying your wall and the fixture.
Step 4: Electrical Connection (Hardwired Deep Dive)
(Warning: Main breaker must be OFF. This step is for qualified electricians only).
- Stripping: Strip the wires to the exact length specified by the manufacturer to avoid exposed live copper.
- Waterproof Terminals: In commercial or high-end residential installs, utilize waterproof wire nuts or Wago lever nuts coated in dielectric grease to prevent ambient moisture from oxidizing the copper splice.
- Grounding: Never bypass the ground wire. The stainless steel chassis must be grounded to prevent lethal electric shock in the event of an internal short.
Step 5: Mounting and Securing
- Slide the heated towel rack onto the wall-mounted brackets.
- Tighten the concealed hex set-screws (grub screws) located at the base of the flanges using an Allen wrench. Ensure the rack is rigid and does not rattle.
Step 6: Final Sealing and Commissioning
- The crucial final step: Apply a thin, neat bead of clear, mold-resistant silicone around the perimeter of the mounting flanges where they meet the tile.
- Restore power, test the GFCI outlet/breaker, and activate the unit. Ensure the carbon fiber elements heat evenly within 10 to 15 minutes.
V. Pro-Tips from the Industry: Avoiding Catastrophic Failures
As a B2B sourcing expert, I see the aftermath of failed installations. Follow these industry secrets to ensure longevity.
- Moisture Sealing is Mandatory: Why did I emphasize silicone in Step 6? Bathrooms are essentially steam rooms. If you drill a hole into your wall and do not seal the bracket, steam will penetrate the cavity, rust the structural screws, and breed toxic black mold inside your drywall.
- Thermal Expansion Tolerances: Metal expands when heated. When tightening the hex set-screws on the mounting brackets, ensure the rack is completely seated, but do not over-torque the screws to the point of warping the metal. The fixture needs a microscopic tolerance to expand and contract without cracking your tile grout.
- Circuit Load Warnings: Do not splice a hardwired towel rack into a circuit that already powers a high-wattage hairdryer outlet or a radiant floor heating system. The combined amperage draw will constantly trip the breaker. Ensure it is on a properly balanced circuit.
VI. Post-Installation Safety & Maintenance
To protect your investment and maintain the pristine look of your SourceZJ Premium Hardware, adhere to these maintenance protocols:
- Vibration and Load Checks: Once a year, check the hex set-screws. Daily pulling of towels can cause micro-vibrations that slowly loosen the mounting hardware.
- Cleaning Protocols: If you have installed a 304 Stainless Steel rack (especially with a PVD finish), strictly prohibit the use of bleach, ammonia, or abrasive scouring pads. Clean the rack only when it is powered off and cool, using a microfiber cloth and a mild pH-neutral soap.
- Electrical Testing: Press the “Test” and “Reset” buttons on your bathroom GFCI outlet or main breaker box every six months to ensure the rapid-cutoff safety mechanism is functioning correctly.
VII. FAQ about Heated Towel Rack
VIII. Business Cooperation is Welcome
Proper installation is the bedrock of a premium bathroom experience. A heated towel rack is a sophisticated thermal and electrical appliance; treating its installation with the same rigor as an architectural upgrade guarantees decades of safe, luxurious performance.
By distinguishing between the capabilities of plug-in and hardwired systems, utilizing heavy-duty anchoring, and strictly adhering to GFCI electrical safety codes, you elevate the hygiene and value of your space.
Do not compromise your daily comfort or your property’s safety with improper mounting techniques or inferior hardware. Align your bathroom infrastructure with the engineered resilience of SourceZJ.
Take the next step in professional bathroom engineering.
For Trade Professionals: Click here to request a custom OEM/ODM wholesale quotation and technical support for your next project
Need Expert Installation Advice? Connect directly with our engineering directors via WhatsApp or send your architectural blueprints to sales1@zhenjiahardware.com for rapid technical consultation.
 English
 العربية
 Русский
 Español